How to Install Your Electrical Outlet Properly
Do you want to install an electrical outlet, but don’t know where to start? Installing an electrical outlet isn’t as complicated as it might sound. Once you have the materials and know the basics of wiring, it’s just a few simple steps from there.
In this blog post, we’ll walk through these steps and provide helpful tips for ensuring your outlet is installed correctly and safely. So if you’re ready to electrify new spaces in your home or business with ease, let’s get started on learning how to install your electrical outlets.
- Turn Off the Power
Before you begin any type of electrical work, always remember to turn off the power. Turning off the electricity first will spare you from any nasty shocks that can potentially kill you. It’s because all the electricity in your house is connected by a circuit that runs from a power source such as a battery or a generator, all the way to the electric appliances you use. To install your outlet safely, use a circuit breaker to cut off the power to the circuit by flipping a switch.
- Determine the Location
Installing an outlet in the right location is important for safety reasons as well as convenience. It’s essential that you always install outlets at least 12 inches away from water sources, at least 3 feet away from doorways, and no closer than 8 inches from any protected corner. To determine the location you want to install the outlet in your home, consider which area will be most convenient for you to use items that require electricity and make sure it’s placed in a safe spot. When you made your decision, mark the exact location on the wall so that installation is quick and easy when the time comes.
- Cut the Hole
Once you’ve chosen a nice spot for your new outlet, it’s time to make a hole out of it. To make a space for your outlet, use a drywall saw to cut a hole through the same place that you’ve marked for the outlet to be installed. Make sure that your safety glasses are on and the saw is sharp, as blunt blades can create jagged edges or make holes too large for the outlet to fit in. When cutting, be sure to move slowly and apply steady pressure for the best results. Once you have finished cutting the hole, use a scraper to remove any components of drywall stuck to its edges so your outlet will fit flush against the wall.
- Run the Wiring
With your little outlet hole all prepared, time to put in some wires. Run the wiring from the circuit to the location of your new outlet. Make sure that you use the right wires for the right circuit, such as a 14-gauge wire for a 15-amp circuit or a 12-gauge wire for a 20-amp circuit. Using the wrong gauge wires will lead to heat resistance, which then becomes a fire hazard.
- Connect the Wires
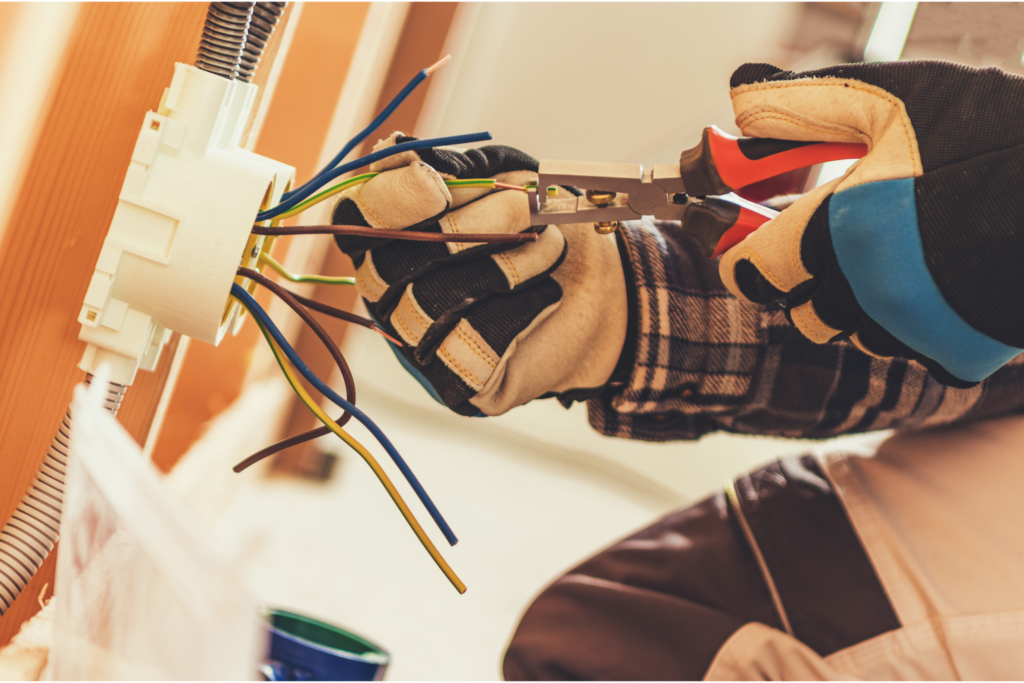
When you’ve gathered all the right wires for the circuit, it’s time to set those wires up. You will need to start by connecting the black wire, or hot wire, to the brass screw, followed by the white wire, which is the neutral wire and should be connected to the silver screw. Finally, the green or bare ground wire must be attached to the green screw on the outlet.
- Install the Outlet
Installing an outlet may be daunting to some, but it is actually quite a simple process. First, you will need to insert the outlet into the electrical box and make sure it is aligned in the right position. Once this is done, you should take two screws and fasten the outlet securely to the wall. To ensure a secure connection, make sure that the screws are tightened properly and securely place them closer to each corner of the outlet.
- Test the Outlet
Voila! You’ve installed your outlet to the power source, and it took a lot of work to do that. Now there’s only one task left to do. Time to flip the switch on the circuit breaker you just flipped earlier and test your outlet if it works as intended or not. Turn the power back on at the circuit breaker and use a voltage tester to ensure that the outlet is functioning properly.
Conclusion
Installing an electrical outlet requires patience and precision, but now that you know the basics, it can become a breeze! And if this article has proven to be too much of a technical challenge or intimidating endeavor for you, don’t forget that you always have the option to hire a professional through Sirwiss. Their knowledge and expertise will give you peace of mind when it comes to safely getting your outlet running in no time.
Best of all, their customer care team is dedicated to helping you all along the way with any questions or concerns that may arise. So why wait? Breathe easy knowing your home’s electricity is in safe hands, and trust Sirwiss with one less worry on your list.