Live with Light, Not with Darkness
Whenever the sky turns dark and the moon shines brightly, it’s common sense to turn on the lights in case you can’t see anything. But what happens when the lights in your house stop working or the switches don’t work as usual as before? That would mean no power for your house and you would be stuck using candles and lamps to illuminate your house in the evenings, greatly limiting your visibility and making you feel like you’re living in a basement.
In this blog post, we’ll go over the steps required to replace any broken lights and switches in your house. Read on if you want to live peacefully in the evenings with light, not with darkness.
Lights and Switches
Assuming you have basic electrical knowledge and skills and feel confident in doing the work yourself, here are the steps to replace lights and switches in your house:
- Turn off the power to the circuit you will be working on by turning off the corresponding breaker in your electrical panel. Use a voltage tester to ensure that the power is off before starting work.
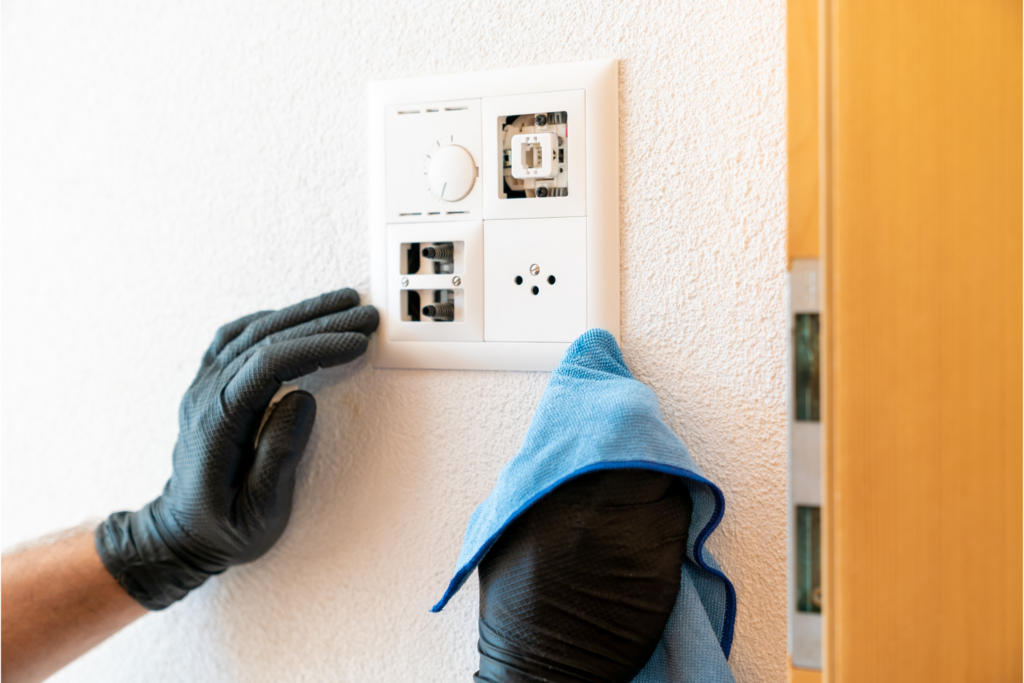
- Remove the cover plate from the switch or outlet you will be replacing. Use a screwdriver to remove the screws holding the switch or outlet in place.
- Carefully pull the switch or outlet out of the electrical box, not touching any of the wires. Take a picture of the wiring or make a note of which wires are connected to which terminals.
- Disconnect the wires from the old switch or outlet. If the wires are connected with screws, loosen the screws, and remove the wires. If the wires are connected with wire nuts, unscrew the wire nuts, and remove the wires.
- Connect the wires to the new switch or outlet according to your notes or picture. Typically, black, or red wires are connected to the brass-colored screws, white wires are connected to the silver-colored screws, and green or bare wires are connected to the green screw or grounding terminal.
- Carefully tuck the wires back into the electrical box, making sure that they are not pinched or touching any sharp edges. Screw the new switch or outlet into place and replace the cover plate.
- Turn the power back on to the circuit you were working on and test the new switch or outlet to ensure it works properly.
Light Fixtures
The process for replacing a light fixture is like replacing a switch or outlet, but with a few additional steps:
- Turn off the power to the circuit you will be working on by turning off the corresponding breaker in your electrical panel. Use a voltage tester to ensure that the power is off before starting work.
- Remove the old light fixture by unscrewing the mounting bracket from the ceiling or wall and carefully pulling the fixture down. If the fixture is heavy, have someone hold it while you disconnect the wires.
- Disconnect the wires from the old fixture by unscrewing the wire nuts, loosening the screws, and removing the wires. Take a picture of the wiring or make a note of which wires are connected to which terminals.
- Connect the wires from the new fixture to the wires in the electrical box according to your notes or picture. Typically, black, or red wires are connected to black or red wires, white wires are connected to white wires, and green or bare wires are connected to the grounding screw or terminal.
- Attach the mounting bracket for the new fixture to the ceiling or wall with screws.
- Attach the new fixture to the mounting bracket according to the manufacturer’s instructions.
- Turn the power back on to the circuit you were working on and test the new light fixture to ensure it works properly.
Conclusion
Now that you know how to replace the lights and switches in your house, why not get it done right away if you’re having trouble turning the lights on and off? If you need some professional help with your repair, head over to Sirwiss and book an electrician to come to your house and replace all the broken lights and switches today so you can live comfortably in the evening with light and not darkness.