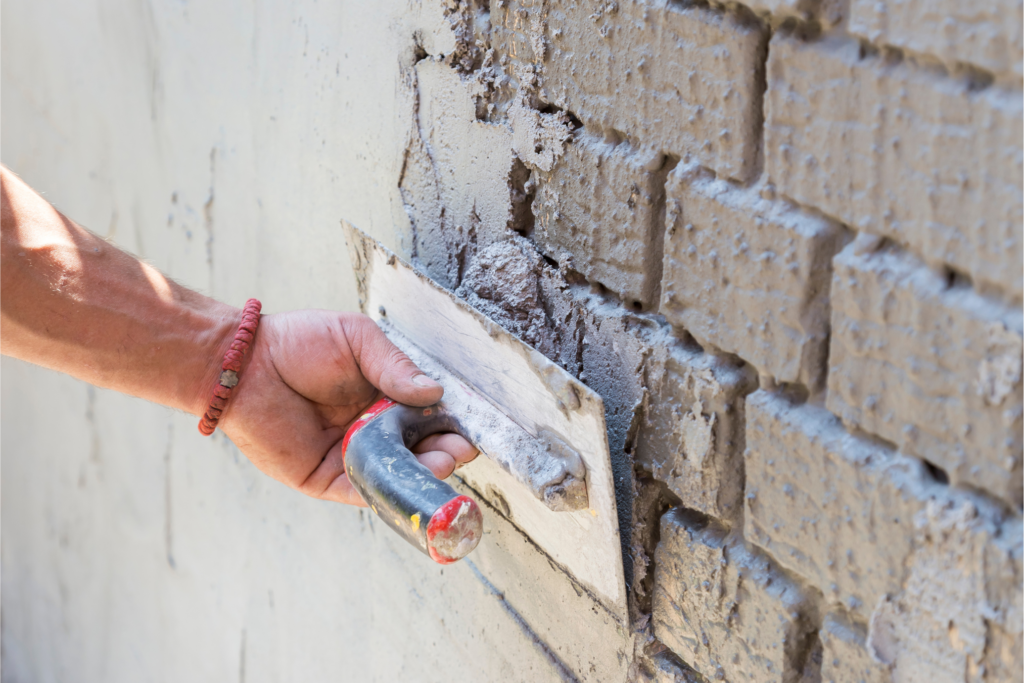
Plaster Your Walls Like A Pro
Looking to spice up your living space? Plastering your walls is the perfect solution! With plaster, you can transform your home décor into something truly unique and eye-catching. Whether you’re a novice DIYer or an experienced one, this guide will show you all the necessary steps to properly complete the project on time and under budget. Learn how to measure the wall area correctly, what types of materials and tools are needed for this task, as well as some useful tips for smooth results – in no time at all!
- Prepare the Walls
Remove any wallpaper, loose paint, or debris from the walls using a scraper or putty knife.
Clean the surface thoroughly by washing it with a mild detergent and water. This ensures that the plaster adheres well.
Inspect the walls for cracks, holes, or other damage. Repair any imperfections using a suitable filler or joint compound. Smooth out the repaired areas and let them dry completely.
- Gather the Necessary Tools and Materials
Plaster: Choose the appropriate type of plaster for your project, such as gypsum-based plaster or lime plaster.
Trowel: Get a steel trowel with a comfortable handle for applying and smoothing the plaster.
Hawk: A hawk is a flat, square or rectangular tool with a handle underneath. It’s used to hold and transport the plaster while working.
Bucket: You’ll need a clean bucket to mix the plaster.
Water: Ensure you have enough water for mixing the plaster to the desired consistency.
Sandpaper: Select sandpaper with different grits, including coarse, medium, and fine, for smoothing the plastered surface.
Drop cloths: Cover the floor and any furniture or items nearby with drop cloths or plastic sheets to protect them from plaster splatters.
- Mix the Plaster
Follow the instructions provided by the manufacturer to mix the plaster correctly. The ratio of water to plaster will vary depending on the specific product, so consult the packaging for precise measurements.
Pour the appropriate amount of water into the clean bucket.
Gradually add the plaster to the water while stirring continuously. Mix thoroughly until you achieve a smooth and creamy consistency. Avoid creating lumps in the mixture.
- Apply a Bonding Agent
Dilute the bonding agent according to the manufacturer’s instructions. It usually requires mixing it with water.
Use a paintbrush to apply the bonding agent evenly onto the walls. This enhances the adhesion of the plaster to the surface.
- Apply the First Coat
Load the plaster onto the hawk by scooping some plaster from the bucket using the trowel.
Hold the trowel at a slight angle and transfer a portion of the plaster onto the trowel.
Starting from the bottom of the wall, apply the plaster in upward strokes. Use the trowel to spread it evenly, aiming for a thickness of around 5-10mm (0.2-0.4 inches).
Continue applying the plaster section by section until the entire wall is covered.
- Level the Plaster
After applying the plaster, use the trowel to level it out and create a smooth surface.
Hold the trowel at a flatter angle and use long, sweeping motions to spread the plaster evenly.
Apply consistent pressure to achieve an even surface. Be careful not to overwork the plaster, as it can become difficult to manipulate.
- Apply Subsequent Coats (if necessary)
Depending on the desired finish and the condition of your walls, you may need to apply additional coats of plaster.
Allow each coat to dry completely before applying the next one. Drying times can vary, so refer to the product instructions for guidance.
For each additional coat, repeat the process of applying the plaster, leveling it, and creating a smooth surface.
- Finish and Sand
Once the final coat is dry, inspect the plastered surface for any imperfections, rough areas, or ridges.
Use coarse-grit sandpaper initially to smooth out any unevenness or high spots. Then gradually move to finer grits of sandpaper for a smoother finish.
Wipe away any dust created during sanding using a damp cloth or sponge.
- Prime and Paint
Before painting, it’s crucial to apply a coat of primer specifically designed for plastered surfaces. This helps the paint adhere better and provides a more even finish.
Allow the primer to dry completely before proceeding with painting.
Once the primer is dry, you can paint the walls with your chosen color. Apply the paint evenly using a brush or roller, following the manufacturer’s instructions.
Conclusion
At the end of the day, getting your walls plastered is exciting and beneficial for any home. It would be so satisfying to see how a wall’s transformation from bare to beautiful brings new vibes and colors into every home. And with our new service that is coming soon – Sirwiss plastering services – you can easily do it for yourself quickly and efficiently. So why wait? Start your journey towards getting more beautiful walls right now and become part of our plastering revolution! We guarantee it will be a rewarding experience for you as you learn how to tackle those walls on your own. Be sure to keep an eye open for when our plastering service becomes available so that you can begin celebrating with the newfound beauty that’s been missing in your home. Get ready to welcome in a brand-new world of plastering joy at your house today!