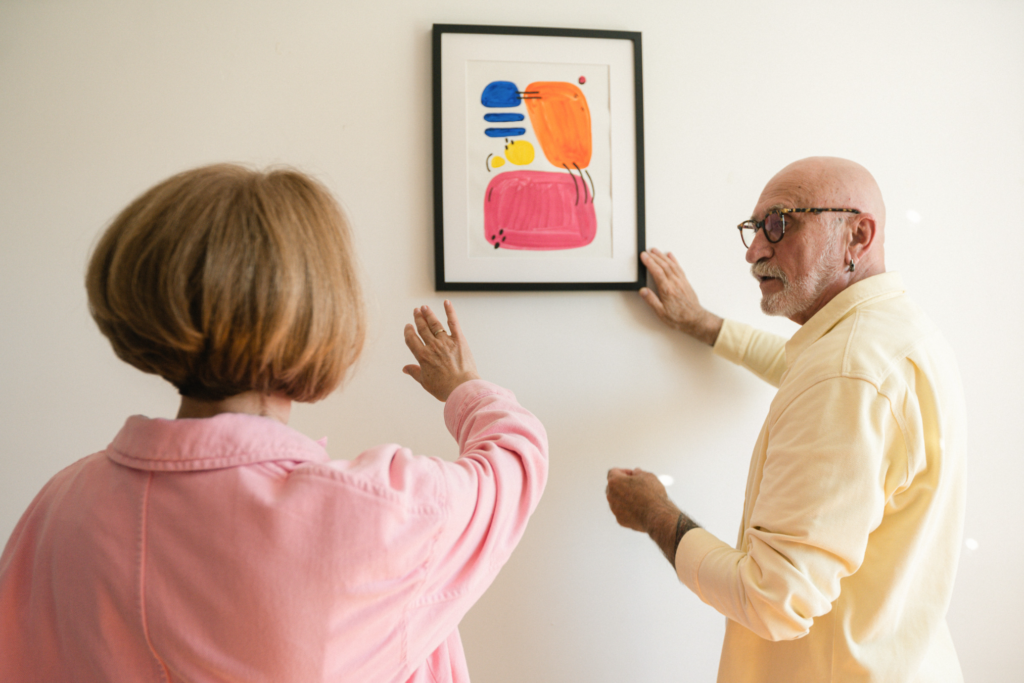
Show Off with Holes and Nails
If you love your house, you would possibly love decorating it. It might be something like a plant, pots, or even some art pieces you bought from a store. But there comes the question of how and where you are going to place them. Living Room? Bedroom? Kitchen? Or the wall? If you have portraits that need hanging, you’re going to need help in setting them up.
In this blog post, we’ll discuss the steps on how you can set up and place any portrait you like on the wall when you want to. Read on if you want to decorate your house like an art gallery.
- Choose the Location
Consider the room’s overall decor and decide on the best place to display the portrait. You may want to hang it in a prominent location, such as above a fireplace, on a focal wall, or in a room where you entertain guests. Choosing a spot where the portrait will be easily visible and not too high or low is important. If you’re hanging multiple portraits, consider the arrangement and spacing between them.
- Determine the Hanging Height
Hold the portrait against the wall at the desired location and mark the center of the portrait with a pencil. Then, measure the distance from the top of the portrait to the hanging wire or hook. Divide this distance in half and measure that distance down from the center mark on the wall. Mark this spot with a pencil. This will be the spot where you hammer in the nails. It’s important to make sure the portrait is centered and at a comfortable viewing height. A general rule is to hang the portrait so that the center of it is at eye level, which is about 57 inches from the floor.
- Gather the Necessary Tools
You’ll need a hammer, nails, a level, and a tape measure. Choose nails that are appropriate for the weight of your portrait and the type of wall you have. If you’re not sure, ask a hardware store associate for advice. A level is important to ensure the portrait hangs straight.
- Measure and Mark
Measure the distance from the top of the portrait to the hanging wire or hook. Then, measure that distance down from the center mark you made on the wall earlier. This is where you’ll hammer in the nails. Use a level to make sure the marks are level. Double-check the placement before hammering in the nails to avoid unnecessary holes in the wall.
- Hammer the Nails
Tap the nail against the wall at the marked spot lightly with the hammer to make a small indentation. Then, hold the nail at a slight upward angle and tap it firmly with the hammer until it’s securely in the wall. Make sure the nails are straight and level.
- Hang the Portrait
Carefully hang the portrait on the nails by placing the wire or hook over the nails. Use a level to make sure the portrait is straight. Adjust the portrait as needed until it’s centered and level.
- Adjust as Needed
Step back and assess the portrait’s position. If necessary, adjust the height or straighten it out until it looks just right. Once you’re satisfied with the placement, step back and admire your portrait! It’s a good idea to check the portrait’s position periodically to make sure it’s still level and secure.
Conclusion
Now that you know how to set up your portrait on the wall, why not get it done already if you have one? If you have some decorations that need to be fixed, head over to Sirwiss and book a handyman to come and drill some holes in your wall to help in setting up your hanging decorations much easier.