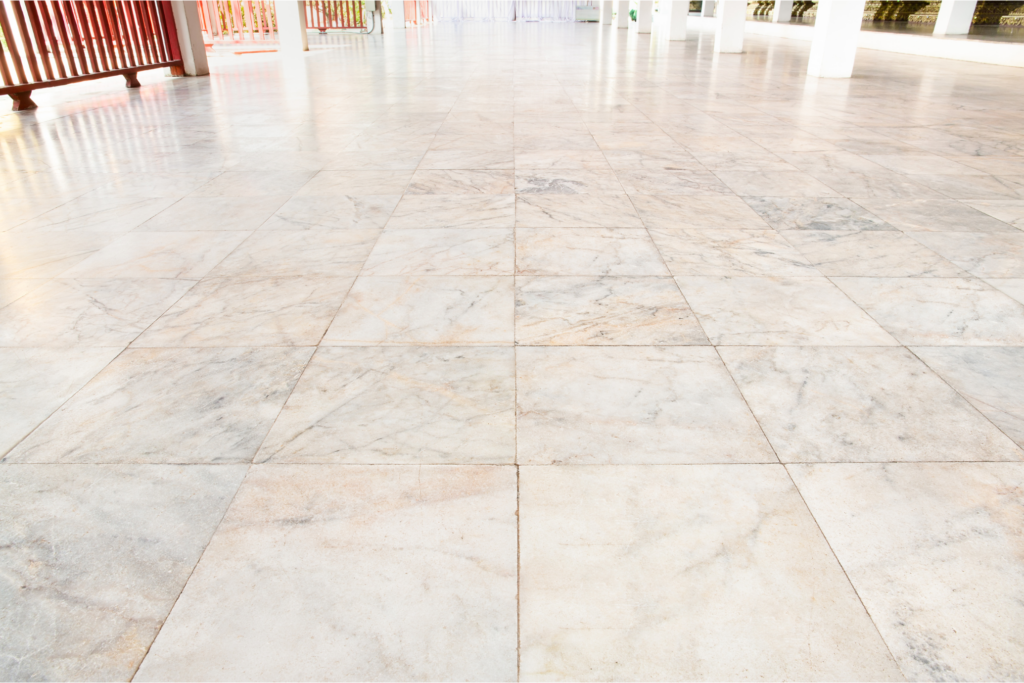
Style Up Your Home with Tiles
For every dream home in everyone’s mind, there’s always the question of what to plaster the walls and floors with. Wood? Cement? Nobody knows which materials to use except the engineers and handymen assigned to the job. In this blog post, we’ll lay down the step-by-step process of how to install tiles or marbles in your home by yourself. Read on if you have a home already being constructed and need some guidance.
- Measure the Area
Start by measuring the area where you want to install the tiles or marbles. This can be done using a tape measure to measure the length and width of the space. Multiply the length and width measurements to get the total area in square feet. Make sure to add a bit extra to account for cuts and waste.
- Choose the Tiles or Marbles
Choose the tiles or marbles that you want to install. There are a variety of different materials, colors, designs, and textures to choose from, so take your time to find the perfect fit for your space. Consider the style of your house and the intended use of the space. For example, if you are tiling a bathroom, you may want to choose tiles with a non-slip surface.
- Calculate the Number of Tiles or Marbles Required
Once you have measured the area and chosen the tiles or marbles, you can calculate the number of tiles or marbles required. You can use an online tile calculator or consult with a professional to help you determine the number of tiles or marbles you need. Be sure to factor in any cuts or waste.
- Prepare the Surface
The surface where you want to install the tiles or marbles must be clean, flat, and free of any debris. Remove any old flooring, carpet, or adhesive. Ensure that the subfloor is solid and free of cracks or loose sections. Use a leveling compound to fill any depressions or dips to create a flat, level surface.
- Lay the Tiles or Marbles
Start by marking the center of the room using a chalk line. This will serve as a guide for laying the tiles or marbles. Begin laying the tiles or marbles at the center of the room and work your way out towards the edges. Use a tile adhesive or thin-set mortar to adhere the tiles or marbles to the surface. Use spacers to create even grout lines between the tiles or marbles.
- Cut the Tiles or Marbles
You may need to cut some tiles or marbles to fit the edges of the space. Measure the space where you need to make the cut, mark the tile or marble with a straight edge and a pencil, and use a tile cutter or wet saw to make the cut. Be sure to wear protective eyewear and follow the manufacturer’s instructions for the cutting tool.
- Grout the Tiles or Marbles
Once the tiles or marbles are laid, allow the adhesive or mortar to dry according to the manufacturer’s instructions. Use a rubber float to apply grout between the tiles or marbles. Spread the grout evenly and remove any excess grout with a damp sponge.
- Let the Tiles or Marbles Set
Allow the tiles or marbles to set and dry for at least 24 hours before walking on them or placing any furniture on them. This will allow the adhesive or mortar to cure and the grout to dry completely.
- Clean the Surface
Once the tiles or marbles are set, use a clean, damp sponge to remove any remaining grout haze from the surface. Avoid using harsh chemicals that may damage the tiles or marbles.
Conclusion
Now that you know how to install your tiles or marbles on your house, why not get it done anyway? You can fit tiles or marbles in your house in a way that enhances its aesthetic appeal while also ensuring durability and longevity. If you still feel you’re not up to the task, that’s okay, just call a professional to do it for you. Head over to Sirwiss and hire an installation team to help set up your dream house.