Your Complete Guide to Mounting Your TV the Right Way
Got a new flat-screen TV and ready to mount it up? You’re not alone! Real estate experts often recommend mounting TVs instead of placing them on furniture for safety and aesthetics, but finding out how to do it correctly can be tricky. In this guide, we’ll take you through all the essential steps to safely install your TV so that you and your family can enjoy years of viewing pleasure. So read on, and let’s start transforming any room into an entertainment paradise the right way.
- Choose the Right Wall Mount
First things first, find the right spot in your living room where you can mount your TV. Once you’ve found one, it’s now time to find the right mount for your TV. Always make sure that whichever mount you buy is compatible with your TV’s VESA pattern. For those that don’t know, a VESA pattern is the measured distance between each of the mounting holes of your TV.
- Mark the Holes
Before you can set up your mount, you need to create some holes in your wall to hold the entire thing together. To pull this off flawlessly, you’ll first have to mark the holes in the wall. For every hole that you mark with a pencil, you will have to use a drill that will support the mounts. As you drill your wall, remember to use a level; you’ll need your mounts to be straight and not tilted.
- Drill the Plot Holes
Now that you’ve marked your holes, it’s time to bring out the toolbox and start drilling. Before you start drilling, make sure the drill you use is smaller in diameter than the holes in order to drill pilot holes for the screws.
- Mount the Bracket
Once the drilling has been done, mount the bracket, which is the frame used for holding your TV, into the wall. Do this using the screws and anchors that have been provided with the mount. When you mount your bracket, make sure it is secure and level.
- Attach the TV to the Bracket
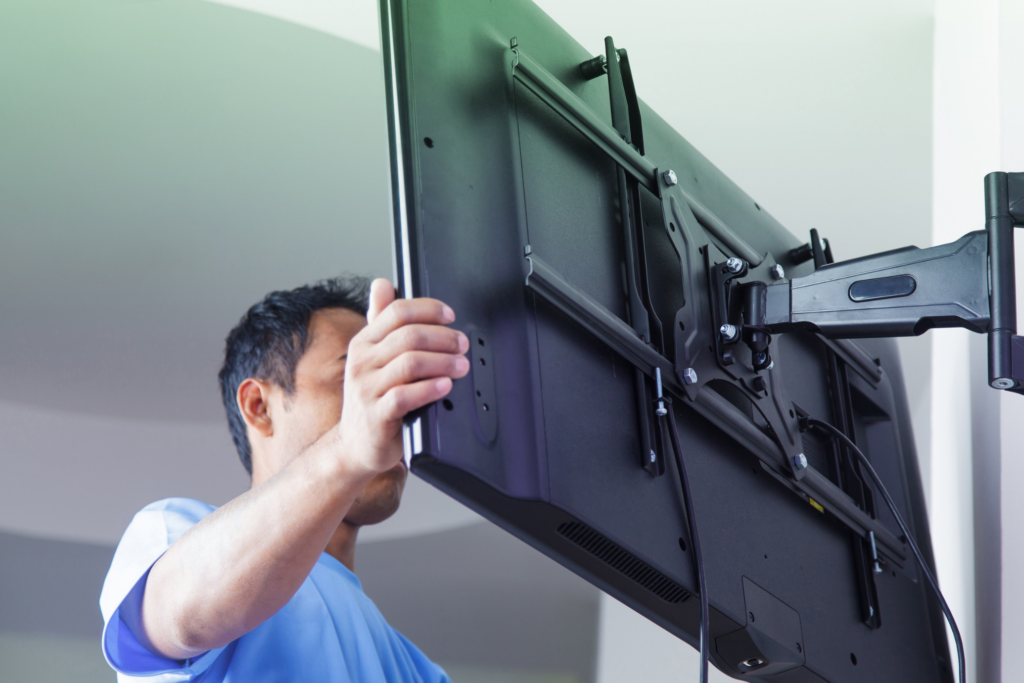
With the bracket now in place, use the screws provided with the wall mount to attach the TV to the bracket. If you don’t want to break your brand-new TV, you better follow the manufacturer’s instructions on how to attach your TV to the mount properly.
- Test the Mount
Finally, it’s all set and done! Your TV is now in place, and everything is finished. Now there’s only one more thing to do before you sit back and enjoy watching your favorite show. And that is to test your mount. How to do this? Simple. To make sure the mount is secure, try pulling your TV gently. If it wobbles or feels loose, you’re going to have to recheck the mount and tighten any screws where it’s needed.
Conclusion
As you can see, mounting your TV is no easy feat—but it doesn’t have to be a nightmare. With the right tools and knowledge, you can give your home theater the professional touch without breaking the bank. Plus, mounting your television securely not only looks better but also helps ensure the safety of your loved ones.
But if you decide that this job is too daunting for you in the end? Don’t worry: just book a handyman with Sirwiss and trust their expertise instead. Whatever course of action you choose to take, don’t forget to make safety the first priority when it comes to a DIY project like this. Good luck!